It is important that the installation process is done in Gaming mode as the Star Citizen custom launcher will not load in console mode. It is also important that you are on the Bare Metal plan, as Star Citizen will not work on any VM-based plan.
The simplest method to install Star Citizen on our cloud gaming service is by using our custom .deb installer, which will walk you through the process with minimal user input required. Starcitizen.zip
If you’d rather install it manually, please follow the instructions provided below.
Step 1:
Install ZRAM Tools:
Run the command sudo apt install zram-tools to install the ZRAM tools, which help improve system performance by compressing memory.
Enable LZ4 Compression:
Use the command sudo sed -i “s/^#ALGO=lz4/ALGO=lz4/” /etc/default/zramswap to enable the LZ4 compression algorithm in the ZRAM settings. This makes memory compression faster and more efficient.
Set Memory Percentage:
Run sudo sed -i “s/^#PERCENT=50/PERCENT=50/” /etc/default/zramswap to allocate 50% of your system’s memory for ZRAM. This means half of your RAM will be used for compressed memory.
Adjust Page Cluster Settings:
Use sudo sed -i “/vm.page-cluster/d” /etc/sysctl.conf to remove any existing vm.page-cluster settings from the system configuration file.
Add Page Cluster Optimization:
Finally, run sudo sed -i -e ‘$a'”vm.page-cluster = 0″ /etc/sysctl.conf to add a new setting that optimizes how memory pages are grouped, which can improve performance.
In short, these commands set up ZRAM with efficient compression, allocate memory for it, and tweak system settings for better performance.
You will need to restart the operating system for the ZRAM settings to take effect.
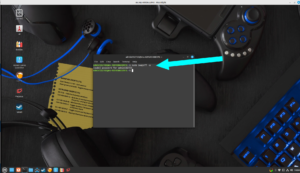
To reboot your system from the terminal in Linux Mint, follow these steps:
Open the terminal.
Type the following command and press Enter:
Copy
sudo reboot
You may be prompted to enter your password
If you opt for the manual installation method, you will need to manually disable swap each time you launch Star Citizen. To do this, enter the following command in the terminal every time you run the game: sudo swapoff -a
Step 2:
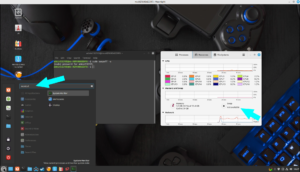
Confirm that swap has been turned off by bringing up the Linux Mint Monitor. Now, confirm that swap has been turned off.
Step 3:
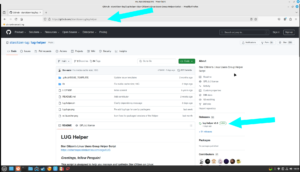
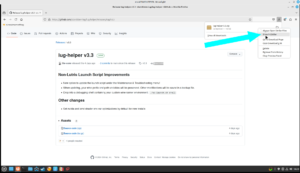
Now we will need to download the Lug Helper install file for StarCitizen. Please visit the following URL and click on the latest version on the right-hand side of the page: https://github.com/starcitizen-lug/lug-helper
Step 4:
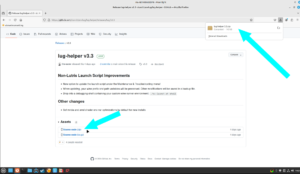
Now let’s download the source.zip version of this installer helper script.
Step 5:
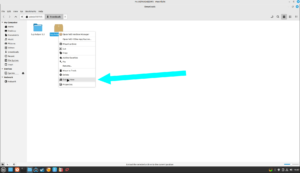
Now, let’s head over to the download folder to have it extracted. Please right-click and then click on ‘Show in Folder.
Step 6:
Let’s right-click on the source.zip file and extract it.
Step 6:
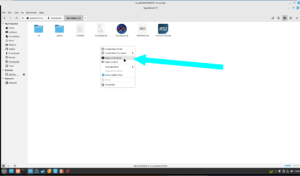
Double-click on the extracted folder, then right-click on an empty area and select ‘Open in Terminal.
Step 7:
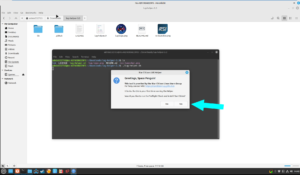
Now that the terminal is open, type ls and press Enter to look for the lug-helper.sh file. To run it, simply type ./lug-helper.sh and then press Enter. The script will prompt you for the Linux admin password, which can be found in the welcome letter.
Step 8:
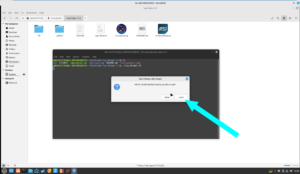
This will now launch the installation of Star Citizen. Let’s click on ‘Yes’ on this screen.
Step 9:
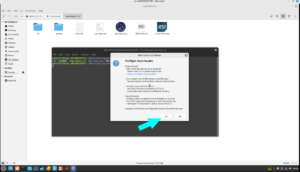
Please choose the Lutris option since it offers the best compatibility.
Step 10:
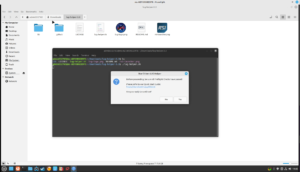
It is extremely important that you click no. As mentioned above, swap can cause random crashes with our current setup. Don’t worry, our Bare metal system has enough RAM and VRAM to run the game without any swap.
Step 11:
Please click ‘Yes’ in the next window.
Step 12:
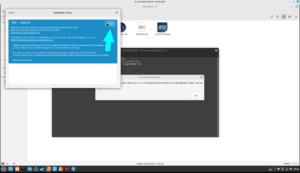
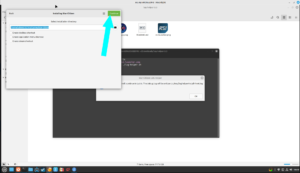
This will now open another window for you, which is the Lutris installer. Please click on ‘Install’.
Step 13:
Please continue.
Step 14:
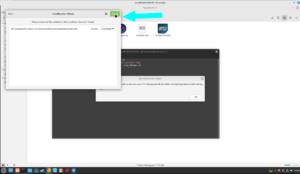
Now click on ‘Install’ to download the launcher. This may take a few minutes.
Step 15:
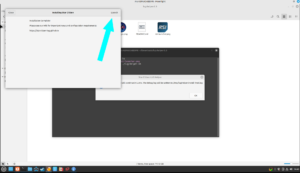
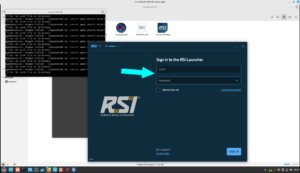
Now let’s click on the launch in order to bring up the StarCitizen custom launcher. This can take a few seconds, so don’t quit too early.
Step 16:
As mentioned above, this needs to be done in Gaming Mode. The StarCitizens custom launcher requires a GPU and will not launch in Console mode.

Recent Comments